en:dentaleyepad
This is an old revision of the document!
Table of Contents
Interface configuration dentaleyepad
Requirements
Installation and configuration of the software patserver of the company doctorseyes GmbH
Configuration OnyxCeph³™
| Parameter | Setting |
|---|---|
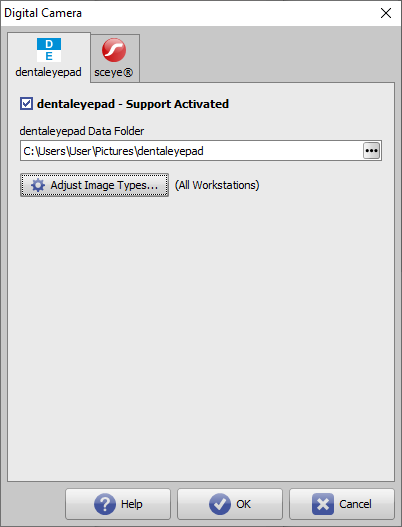
| Support Activated | Activating the import tab in module Add Image 2D |
| Import - Data Folder | Directory for the images of the dentaleypad |
| Image Types | Image type assignment from dentaleyepad to OnyxCeph³™ |
Configuration dentaleyepad
Connection settings:
| Option | Setting |
|---|---|
| Schnittstelle interface | OnyxCeph |
| Patient information entry | Info file |
Image acquisition process
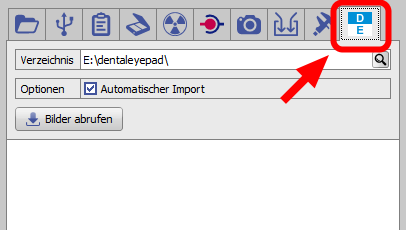
1. Select or create a patient in OnyxCeph³™, open 2D image import and switch to the dentaleyepad import tab

2. Switch on the dentaleypad and/or switch to camera mode.
3. Announce selected patients to the dentaleyepad.
4. Compare ID and name of the patient.
5. Select workflow.
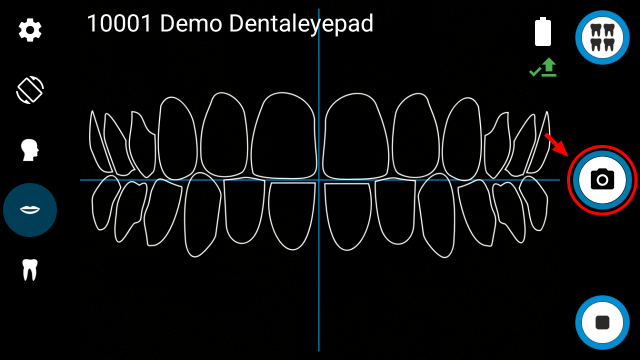
6. Capture image.
7. Confirm acquisition or repeat if necessary.
8. Import images into OnyxCeph³™.
| Newly captured images are automatically imported if the Automatic Import option is set. Otherwise, the images must be taken over from the source list by Drag&Drop. The source list can be updated by pressing the Retrieve Images key. |
en/dentaleyepad.1640257609.txt.gz · Last modified: 2021/12/23 12:06 by onyxadmin


