
This is an old revision of the document!
Table of Contents
Modul Aligner 3D: Panel Trimline
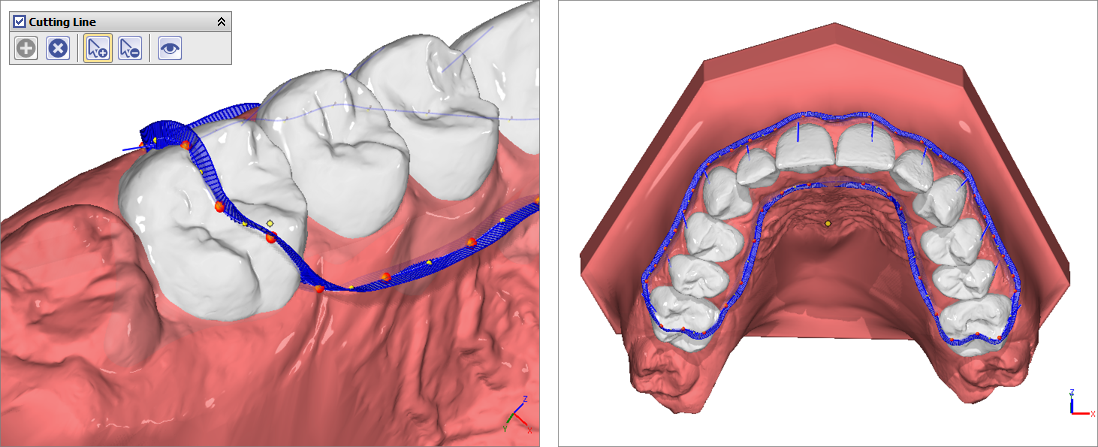
Panel Trimline provides tools for adding and adjusting the aligner trim line. The trim line defined with these tools follows the gingival movement simulated during tooth alignment and can be added as an additional object to the dental arches calculated for aligner production using the thermoforming process in the 3D series export.
In the 3D export of positive aligners, the trim line defines the gingival border of the aligner tray.\
Panel Activation
The panel must be activated separately by an INI entry at the workstation up to and including release 3.2.185.
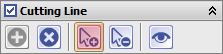
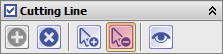
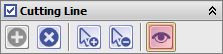
Buttons
The [Trimline] checkbox activates the trim line function.

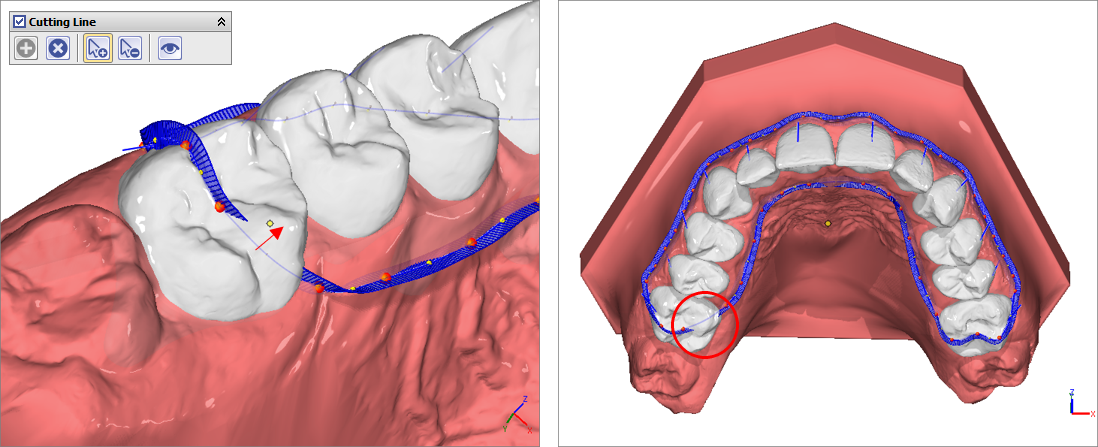
Botton [+] creates the trimline with the predefined parameters on the dental arch as a "fence". The parameters used for Initialization for the gingiva distance can be modified. The path of the trimline can also be individually corrected.

Additional landmarks (points) can be added by clicking on the trim line contour when the [Add landmark] button is active.
Similarly, if the [Delete landmark] button is active, points that are not required can be removed by clicking on the relevant point on the trim line contour.
The [Preview] botton can be used to display the trim line as a curve on the gingival surface.
With key [Delete all landmarks] the whole trim line can be deleted. This may be necessary if the line is to be reinitialized.

Optionally, the display of the trim line can be hidden in the 3D view.

Trimline Correction
The trim line is defined for the selected step (e.g. for the planned treatment objective) but is automatically applied to all created steps, taking tooth movements and gingival simulation into account.
The position of the trim line relative to the gingiva can be individually adjusted by dragging and dropping the landmarks (points). If necessary, additional points can be inserted or unnecessary ones deleted.
If the line does not run completely on the surface in certain sections, but partially under the surface, this must be corrected by dragging and dropping the neighboring trim line points.
Initialisierung
The parameter window for adjusting the initial trim line position relative to the gingival line can be opened with [CTRL] + leftclick on botton (+).
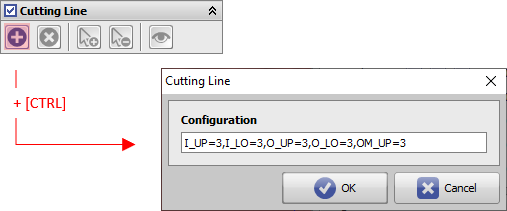
Parameters
| I_UP | point distance to gingiva [mm] inside - all maxilla crowns |
|---|---|
| I_LO | point distance to gingiva [mm] inside - all mandible crowns |
| I_13 | point distance to gingiva [mm] inside - crown 13 |
| O_UP | point distance to gingiva [mm] outside - all maxilla crowns |
|---|---|
| O_LO | point distance to gingiva [mm] outside - all mandible crowns |
| O_13 | point distance to gingiva [mm] outside - crown 13 |
| IM_UP | inserts mid point between 2 crowns at interpolated distance + offset [mm] inside - maxilla |
|---|---|
| IM_LO | inserts mid point between 2 crowns at interpolated distance + offset [mm] inside - mandible |
| OM_UP | inserts mid point between 2 crowns at interpolated distance + offset [mm] outside - maxilla |
| OM_LO | inserts mid point between 2 crowns at interpolated distance + offset [mm] outside - mandible |
Beispiele

| O_UP=0 | O_UP=2 | O_UP=-1 | O_UP=2,O_13=1,O_15=-2 | O_UP=2,OM_UP=0 | O_UP=2,OM_UP=1 |
|---|---|---|---|---|---|
| Distance 0 (at the transition to the gum) | Distance 2 (over the gum) | Distance -1 (1 mm over the crown) | Distance 2 for all and 1 resp. -2 for 13 and 15 | Distance 2 and midpoints inserted between Distance 0-points | the same, but midpoints +1 mm over gum |
| Note for Testing |
|---|
| This version is only o become familiar with the functionality and does not represent an official part of the product yet. The user interface and workflows will be revised in the official release and supplemented with additional features. |