Table of Contents
Interface configuration dentaleyepad
Requirements
Setup of the dentaleyepad of the company doctorseyes GmbH
Configuration OnyxCeph³™
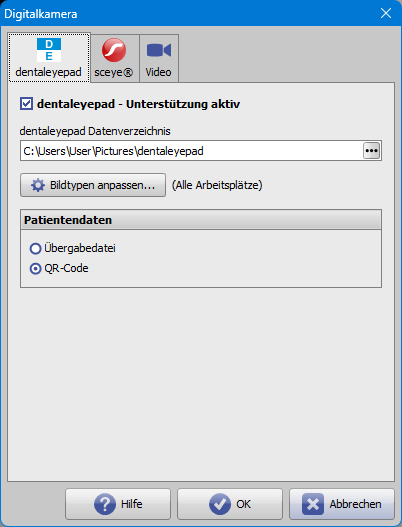
| Option | Description |
|---|---|
| Support Activated | Activates the Import tab in module Bild hinzufügen 2D |
| Data Folder | Directory for the images of the dentaleypad. Must match the setting Destination directory in dentaleyepad control server. |
| Adjust Image Types… | Assignment of the dentaleyepad image types to the OnyxCeph³™ image types |
| Patient Data | Determines the mode for transferring the selected patient to the dentaleyepad |
Configuration dentaleyepad
Connection settings:

| Option | Setting |
|---|---|
| Select interface | OnyxCeph |
| Retrieving Patient Data | QR-Code (recommended) |
Image acquisition procedure
1. Select or create patient in OnyxCeph³™, open 2D image import and switch to import tab dentaleyepad.

2. Switch on the dentaleypad and/or switch to camera mode.

3. Announce selected patients to the dentaleyepad.

4. Display QR code in OnyxCeph³™ and scan with dentaleyepad if patient data capture is configured accordingly. Otherwise, the patient data is read from the info file located in the image import directory.


5. Compare the ID and name of the patient.

6. Select workflow.

7. Take a picture.

8. Confirm recording or repeat if necessary.

9. Import images into OnyxCeph³™.
Newly captured images are automatically taken over if the option Automatic import is set. Otherwise, the images must be taken over from the source list by dragging and dropping. The source list can be updated via the Retrieve Images button.