Workflow Treatment Simulation 2D
Until a revised handout is available, please use this quick guide.
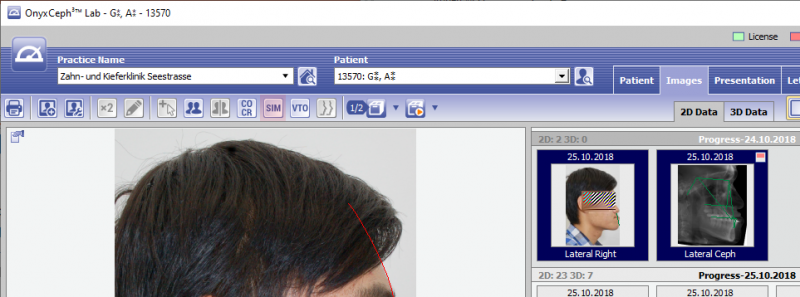
1. Digitize lateral ceph xRay (any analysis) but with the option [Treatment simulation] activated in the analysis selection dialog.
2. Digitize the corresponding profile photo with any analysis, but also with the option [Treatment simulation] activated in the analysis selection dialog.
3. Select both thumbnails and open module Sim 2D
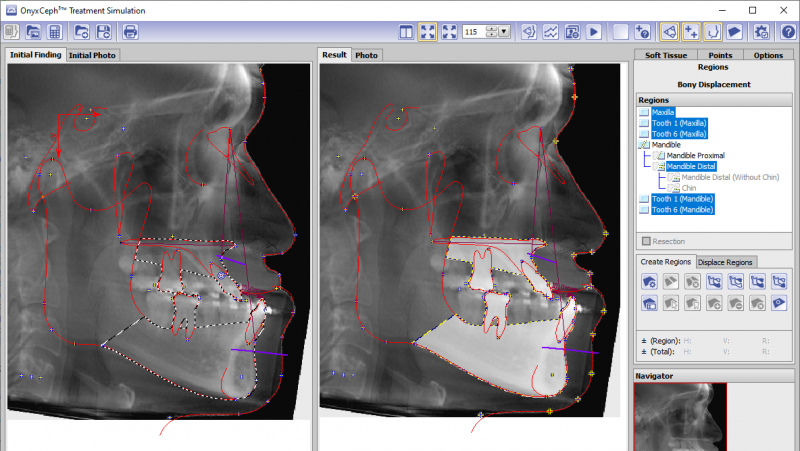
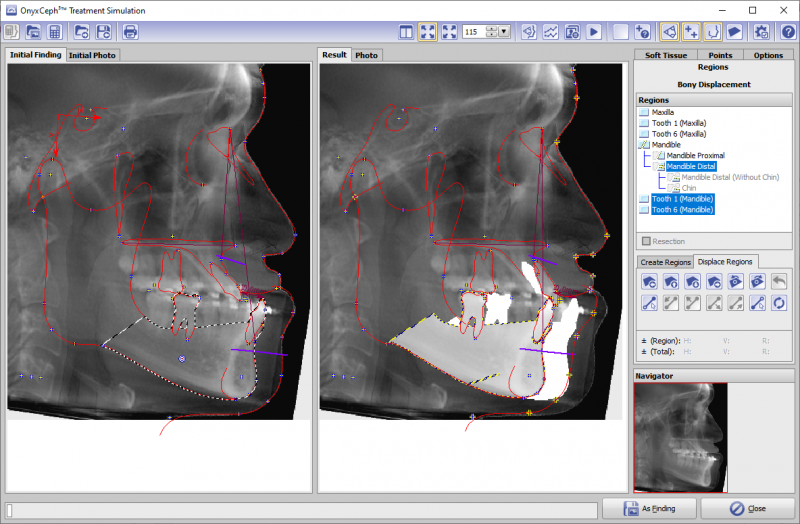
4. Use the [Regions Wizard] button on the [Regions] tab to select/create the segments to be converted.
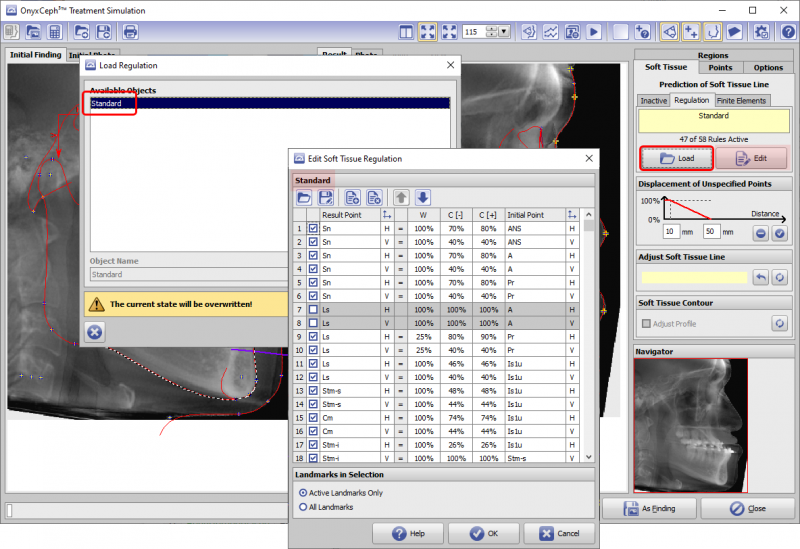
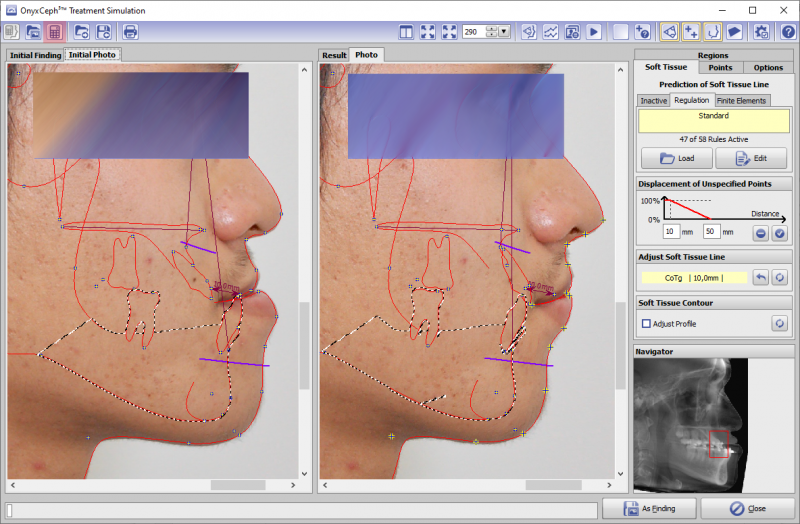
5. On the [Soft Tissues] tab, select subtab |Regulation| and method [Standard].
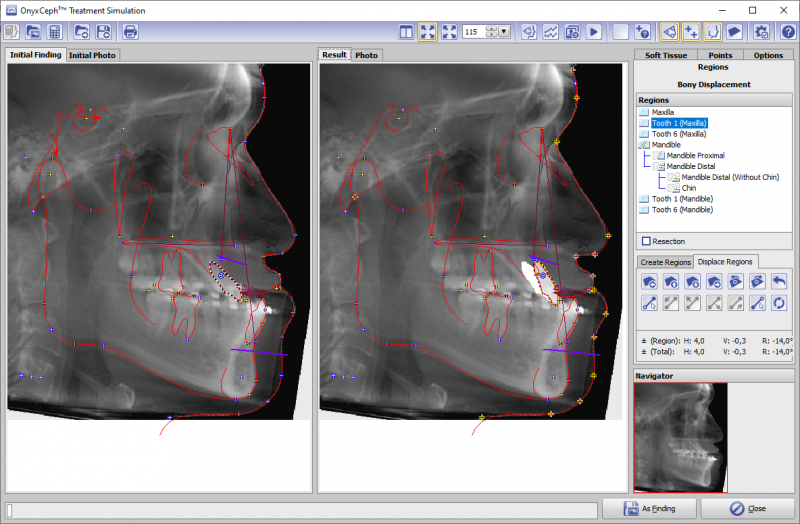
6. On the [Regions] tab, select the segment(s) to be moved in the region tree and move them with the corresponding keys.
7. Check displacement of the soft tissue line on lateral ceph xRay or photo (switch between both by tabs above)
8. Start morphing of the photo into the modified soft tissue line with the [Calculator] icon button top left in the module window.
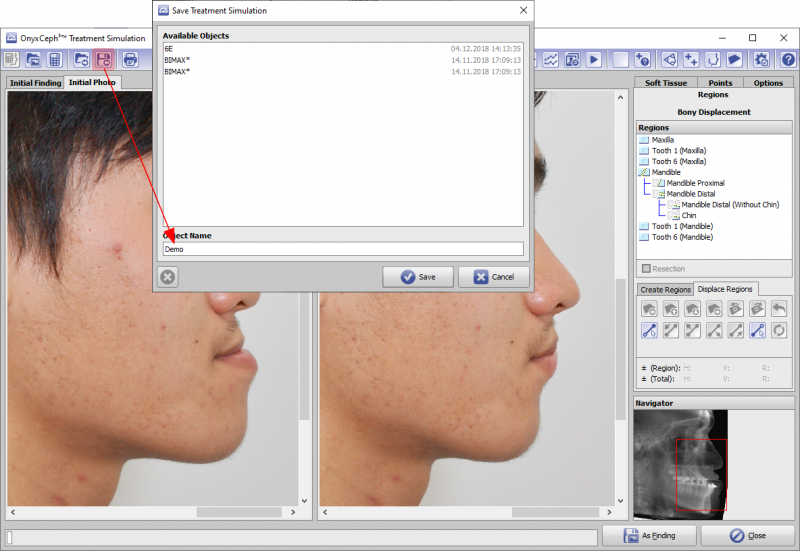
9. Save planning as project (icon button top left)
10. Export planning result [As findings]: either as new/modified lateral ceph xRay or as modified lateral photo with modified photo tracing or as modified Photo with ceph tracing

