Table of Contents
Setup Instructions
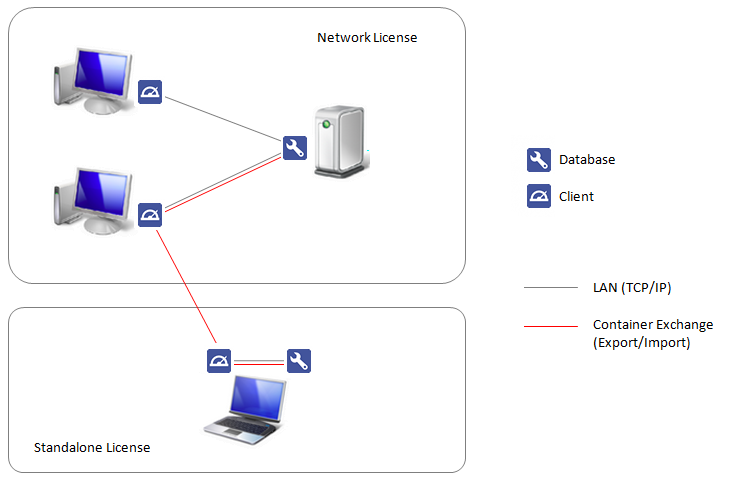
In order to set up OnyxCeph³™ correctly in the client/server network, please read the following notes on the Installation procedure carefully. The software installation consists of 2 parts:
Both parts require administrator privileges on the machines used for the installation. Furthermore, make sure that the machines meet the system requirements for the programversion to be installed. OnyxCeph³™ to be installed and have a supported Windows™ version.
Part I: Database server installation
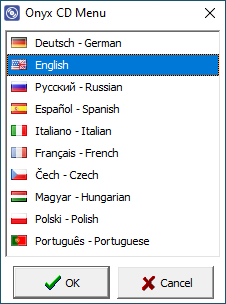
Part I of the installation process is to set up the OnyxCeph³™ SQL database server. Start OnyxCDMenu.exe from the installation directory. If using a download, unzip the downloaded ZIP archive to such a directory beforehand. Select the installation language and click Install Server.
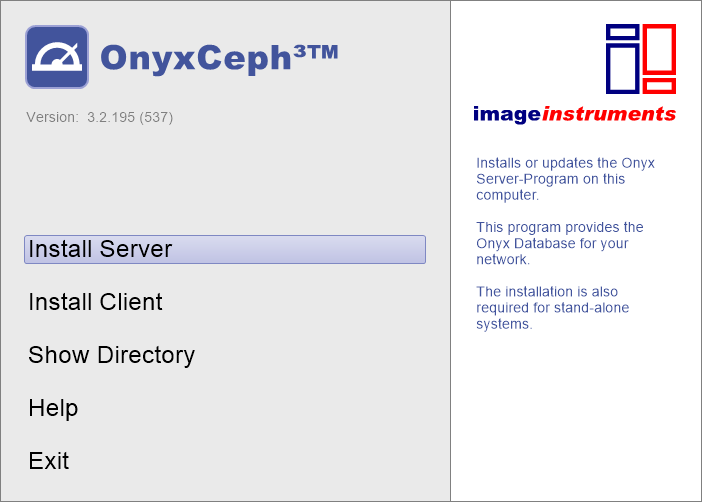
This will open a standard installation wizard for Windows programs, which you should follow step by step until you are prompted to start the installation of the software.
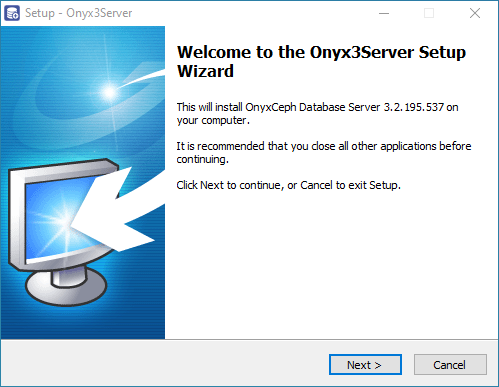
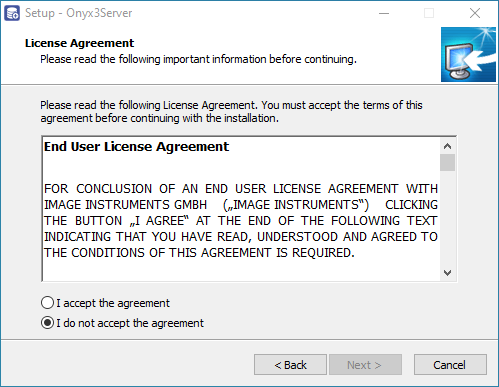
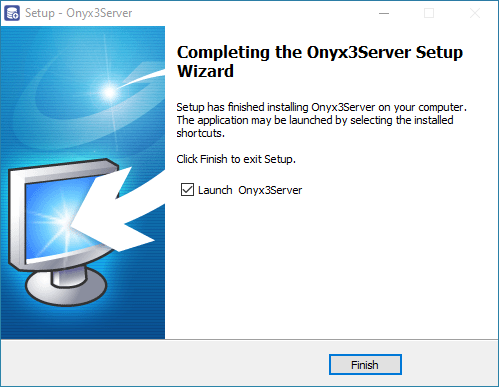

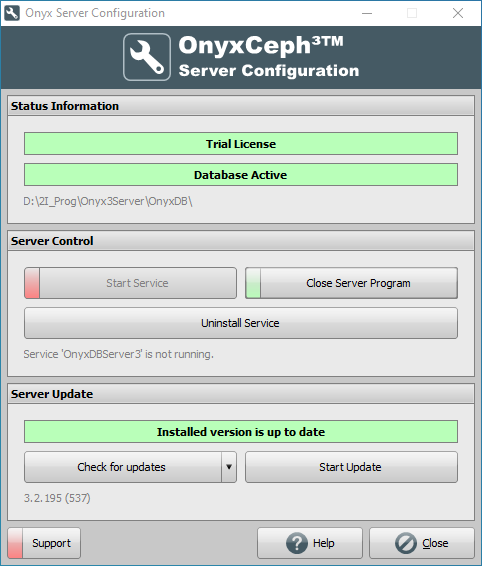
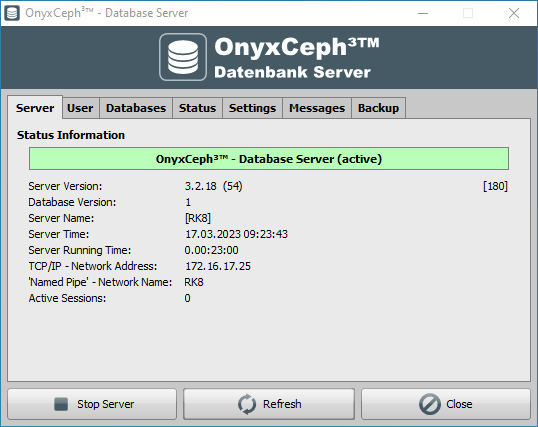
After the setup program has copied all the required files to the destination folder and the database server has started, the server-side installation is complete and you can proceed with the installation of the workstations on the network.
Part II: Installation of the network clients
Part II of the installation process is the setup of all local OnyxCeph³™ workstations in the network. If it is a single workstation installation, the server and workstation are set up on the same computer.\\.
You can perform the workstation installation by starting the OnyxCDMenu.exe program directly from the installation media and clicking the second menu item [Install Client]. Alternatively, open the workstation installation OnyxClientSetup.exe locally or via the network environment from the shared server directory ..\Onyx3Server from subdirectory ..\Install.
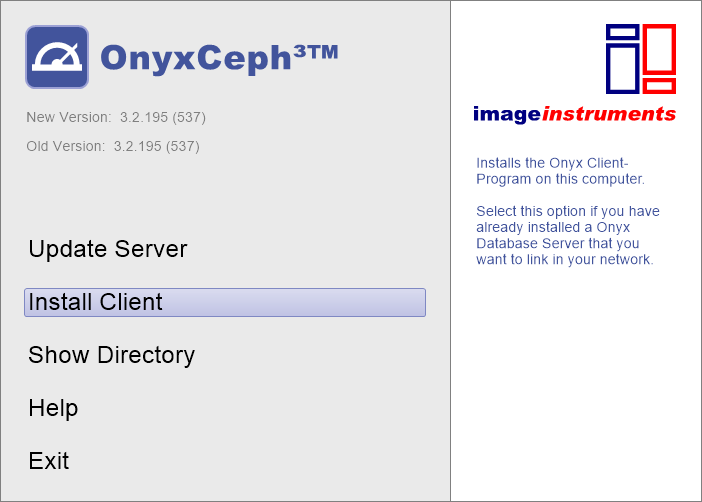
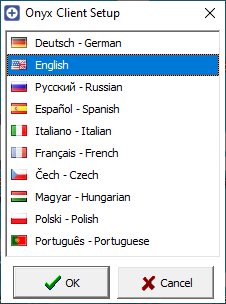
In the next window, first select the workplace language. Then the OnyxCeph³™ Client Setup window opens. Click here on button [Start] to start the workstation installation with the search for an active database server OnyxDBServer.exe via IP port 16300.
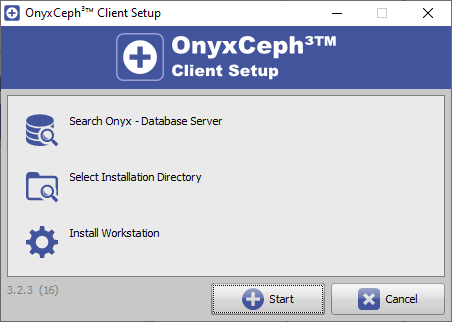
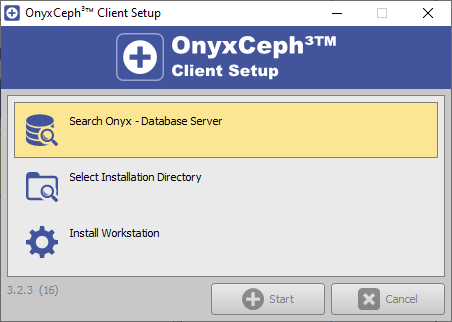
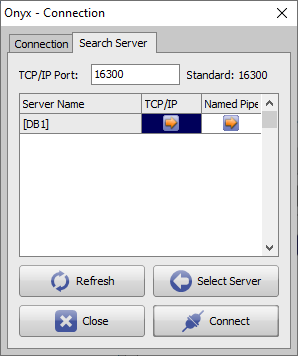
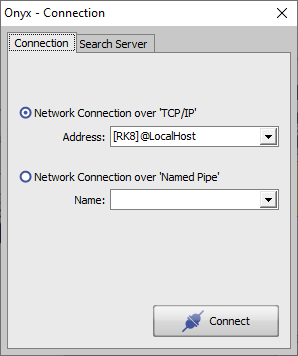
After the available OnyxCeph³™ database server(s) have been found, select server and connection type. It is recommended to use the TCP/IP Internet protocol for this. Connect via button [Connect] on tab [Find server] or click button [Select server] to check connection parameters on tab [Connection] before.
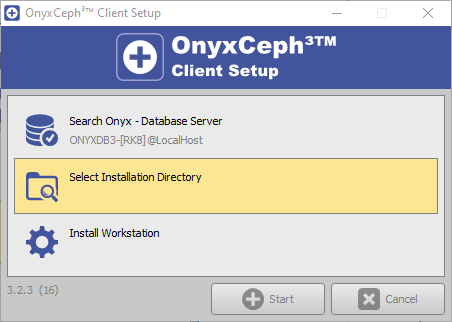
After establishing the database connection, the local installation directory must be selected. Use the Browse dialog that appears for this purpose. We recommend to keep the default installation path.
Please note that the Onyx3Client program folder is automatically created as a subfolder of the selected installation path.
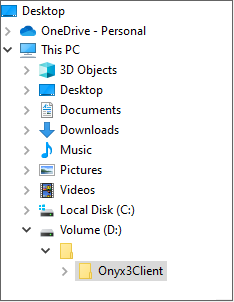
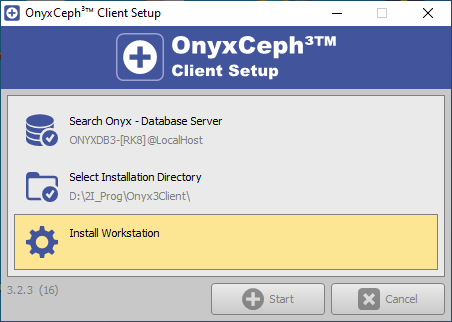
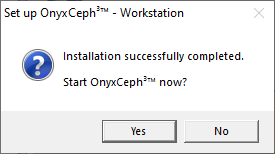
After that, all files required at the workstation are copied to the local Onyx3Client program folder. This completes the setup of the workstation. With the completion of the installation you are offered the immediate launch the application at the local workstation. Later, you can open OnyxCeph³™ via the newly created OnyxCeph3 program group, via the desktop icon or via a link from your practice management program.
